


Small Home Gazette, Fall 2015
Insulation Elucidation
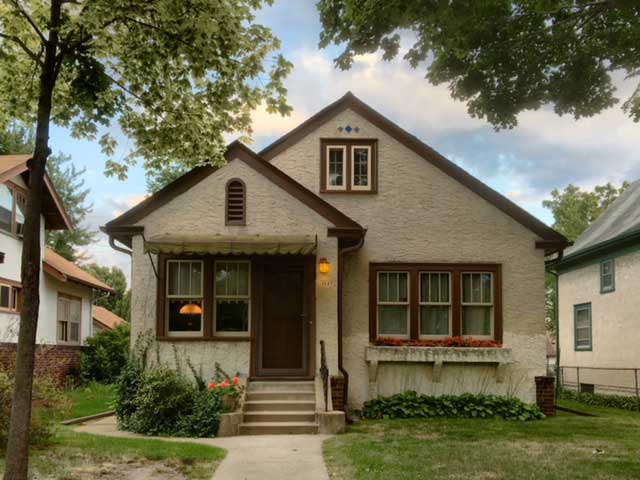 I’ve lived in my bungalow for 21 years. During the first few, filled with the thrill of new ownership and a low-interest loan from the City of Minneapolis, I had a lot of work done—the roof re-shingled; floors refinished; plaster walls and ceilings repaired and repainted; a complete re-do of the bathroom; additional electric work; all-new sidewalks and driveway; and more.
I had also planned to have insulation blown into the home’s wall cavities, but a Minneapolis housing inspector urged caution. During heating season, he explained, new insulation added to old houses can trap warm, moist air as it passes through plaster walls, which are semi-permeable. Air can also seep through gaps around wood trim and electrical outlets, switches and fixtures. The absorbed moisture can cause the insulation to slump, greatly reducing its effectiveness. Worse, the insulation could hold moisture against the home’s interior wood framing, causing rot that goes undetected.
Up on the Roof
So I decided to forgo wall insulation. In the unfinished attic, I rolled a few batts of pink insulation out across the floor, closed the attic door, and forgot about it. My bungalow is small, about 1,100 square feet of living space on one floor, so my heating and cooling bills weren’t exorbitant.
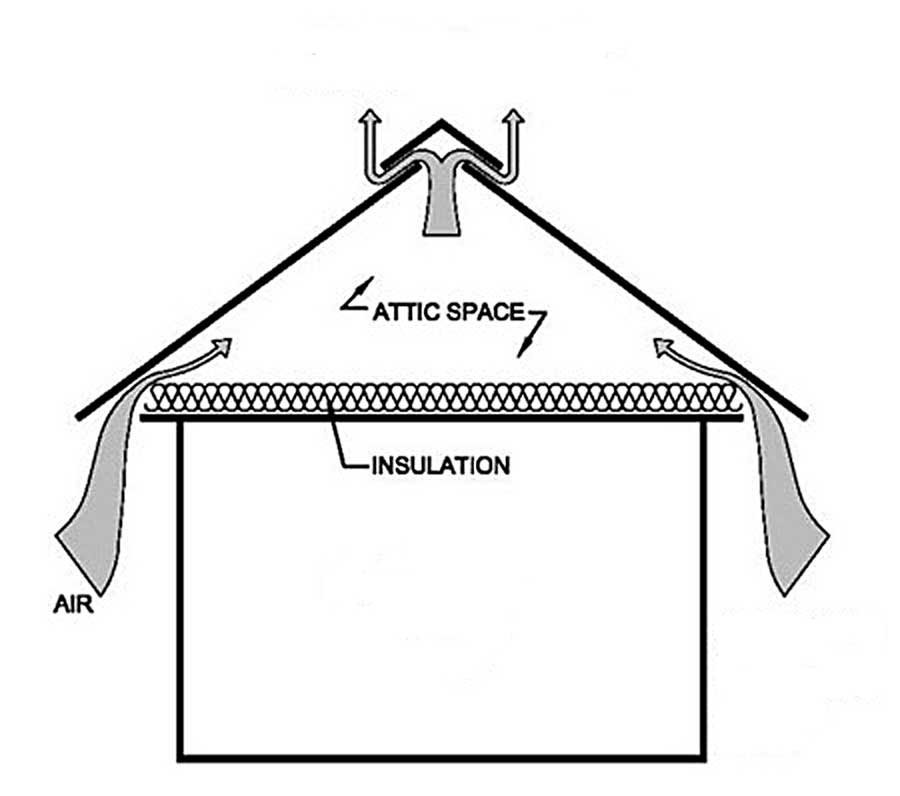
An unfinished attic requires proper ventilation.
But during hot summer months the sun super-heated my attic during the day, which in turn heated my ceilings throughout the evening and into the night. And the kiln-like conditions in the attic may have had something to do with the asphalt roof shingles baking to a crispy, curly crunch after fewer than 15 years on the job.
In addition, during the winter I often got ice dams along the edges of my roof. This indicated that heat from my home’s walls and ceilings was leaking into the cold attic and melting snow on the roof, causing water to run down the shingles and re-freeze at the cold edges. Not good.
When I re-shingled a few years ago, I had a ridge vent installed on my roof’s peak, which runs from the front to the back of the house. So while hot air could, in theory, escape through the ridge, there was no inlet to replace it with fresh air.
Seeking Solutions
Earlier this year I called Krishna Dorney of Metropolis Construction, who lived in a bungalow just a couple blocks from mine. He recommended installing vents in the soffit—the exposed surface under the roof eaves. This would create air convection in the attic as cooler air was pulled in from under the eaves and hotter air escaped from the ridge vent at the peak. He also recommended adding insulation to the attic, explaining that more heat is typically lost through a home’s ceilings than through its walls, doors and windows.
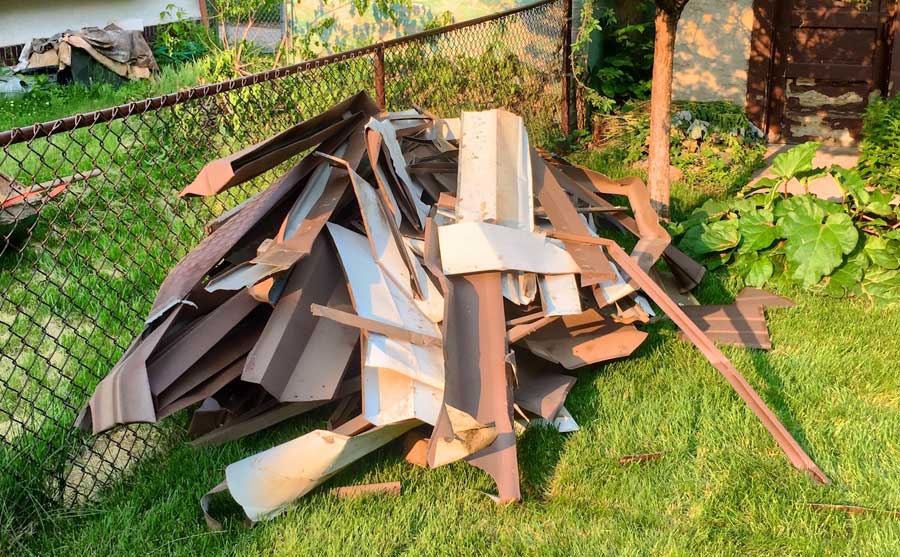
Workers stripped aluminum wrap from my bungalow’s trim and piled it in the back yard.
The workers first removed the rain gutters and aluminum wrap from my bungalow’s roof trim and soffit, revealing the wood underneath. They found that portions of the original wood trim had been removed when the aluminum was applied. This is common when an old house is “improved” by the addition of aluminum or vinyl siding—architectural detail is sacrificed in the name of expediency and modernization. It’s one example of the dozens of changes inflicted upon vintage homes that, over the years, strip them of their character, leaving them shadows of their former selves.
I always prefer to retain, repair or replace my home’s original architectural details.
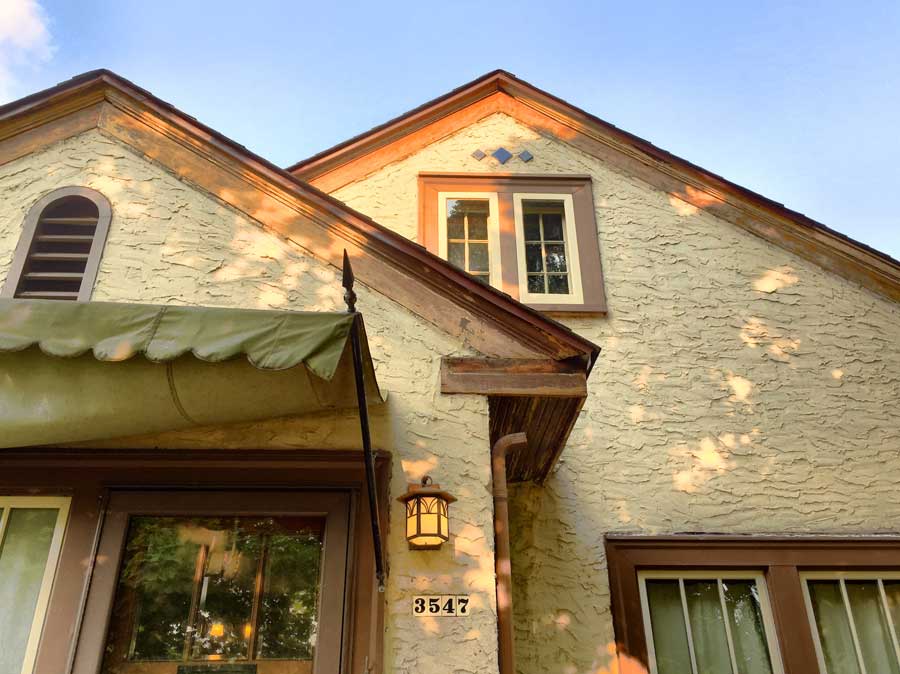
With the aluminum wrap removed from my bungalow’s bargeboards, facia and soffit, the wood was exposed for the first time in more than two decades.
My bungalow was built in 1926 and lacks many of the hallmarks of classic Arts & Crafts bungalows such as wide overhanging eaves with exposed rafter tails. Instead, my home has hints of Spanish or Mediterranean—styles that became popular in the late 1920s. It has a steeper roof than traditional bungalows, and the eaves are fairly short, the rafter tails enclosed by a bead board soffit.
Krishna recommended replacing one of the soffit’s narrow boards with a vent running from front to back on each side of the house.
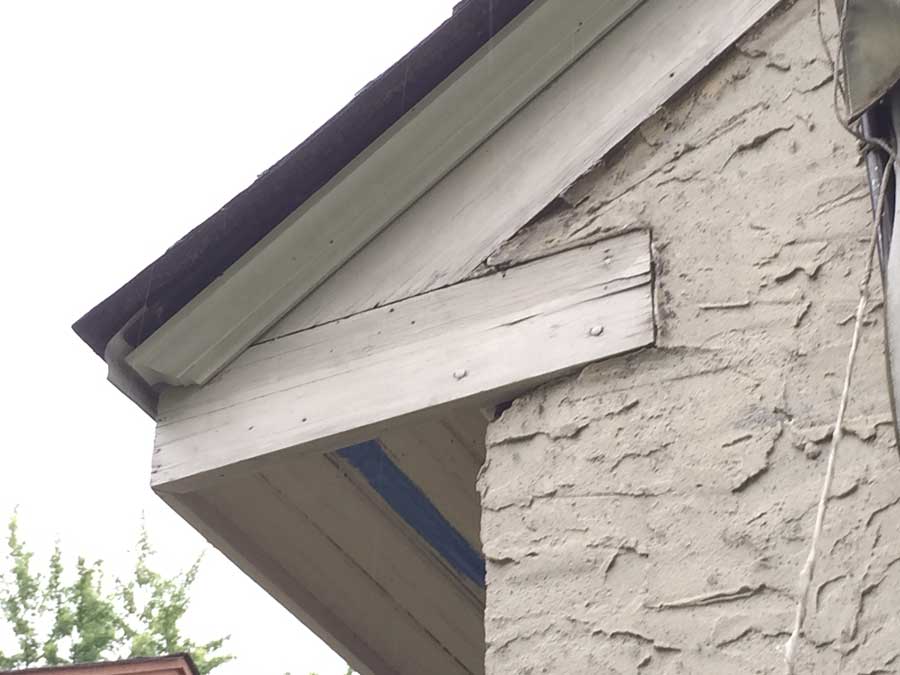
When my bungalow’s trim was wrapped in aluminum, details were removed, including wood trim on the eave returns.
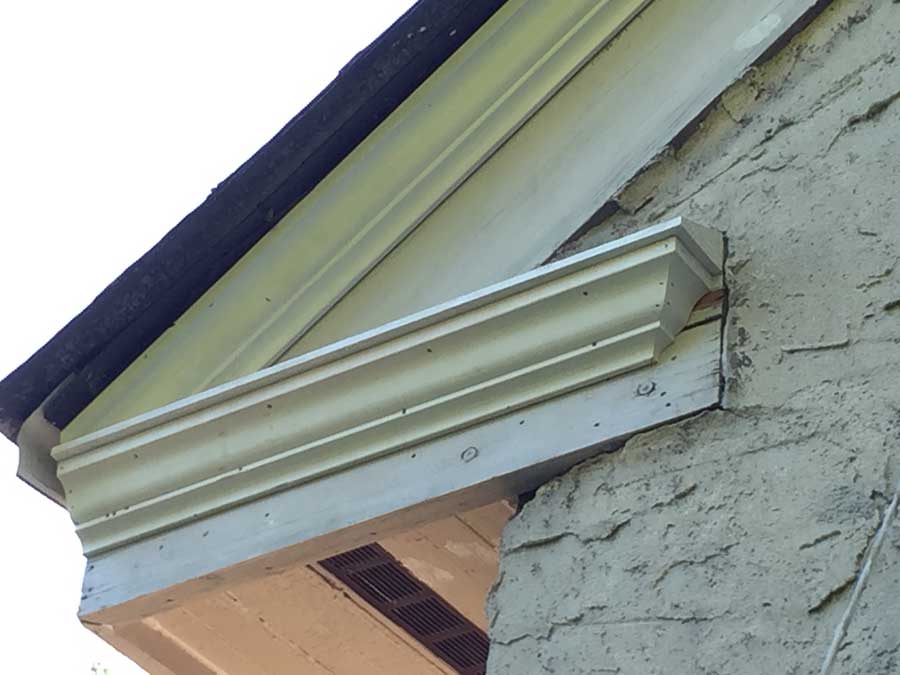
The missing trim pieces were replicated and replaced. Here the wood trim is primed and ready for paint. Note the dark strip on the underside of the eave. This is the newly-installed vent, which will allow fresh air to enter the attic.
The aluminum wrap was added to my house before I purchased it. In the process, workers had apparently removed pieces of wood trim on the eave returns of the front and back gables (see photos). This was done, no doubt, to create flatter surfaces that were easier to cover with aluminum. Again, the trim on the eave returns was definitely not typical of the Arts & Crafts style. It’s a classical detail that recurs throughout history, harkening all the way back to pediments found on Greek temples. But the trim pieces were original to my house, and Krishna and I decided to replace them, restoring a bit of architectural integrity.

The bead board soffit was removed, stripped of paint, and replaced.
The crew took all of the soffit bead board down, replaced one narrow strip with a vent, and reinstalled it. They also repaired or replaced various pieces of trim along the eaves and on the gable fascia. They then scraped loose paint from the wood, primed it, and painted it.
The aluminum rain gutters were not in good shape even before they were removed, so new gutters and downspouts were installed all around the house.
Attic Insulation
With the outside trim restored, attic insulation was next. First, workers attached shallow, raised chutes to the underside of the roof between the rafters. These are designed to allow outside air to flow from the eave vents into the attic by holding insulation at bay.
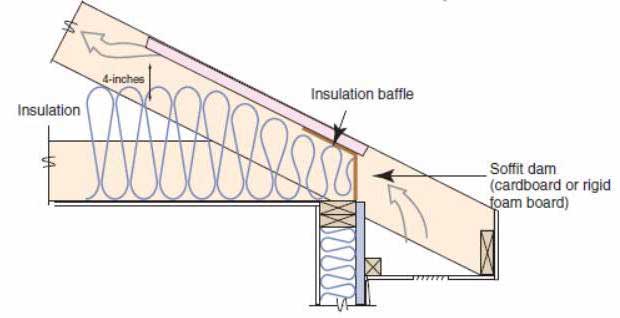
Chutes between each rafter allow fresh air to bypass insulation.
Air channels were fastened to the underside of the roof between rafters. They allow cool air from under the eaves to flow past the insulation and into the attic.
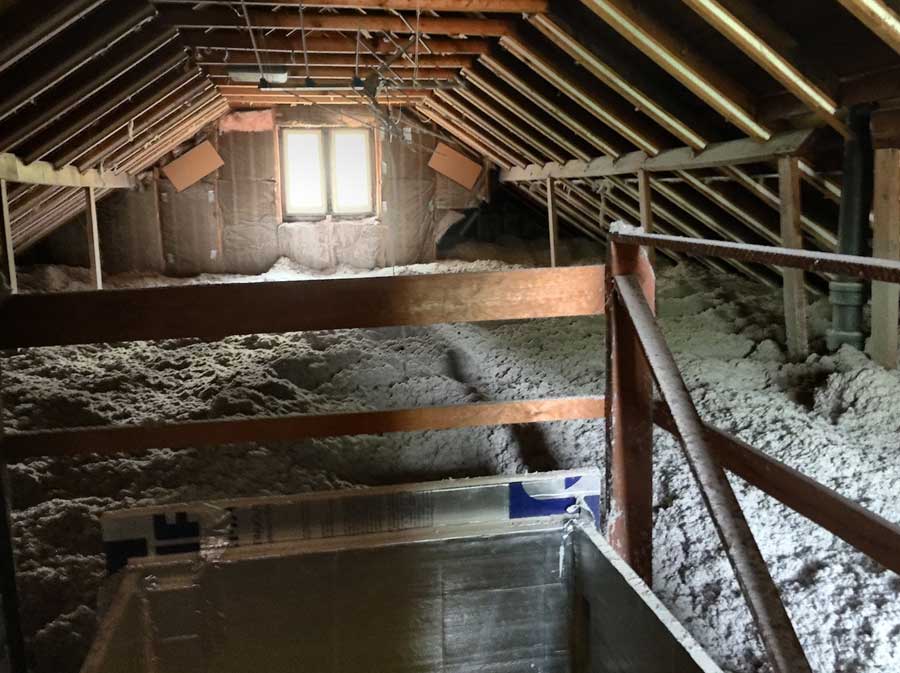
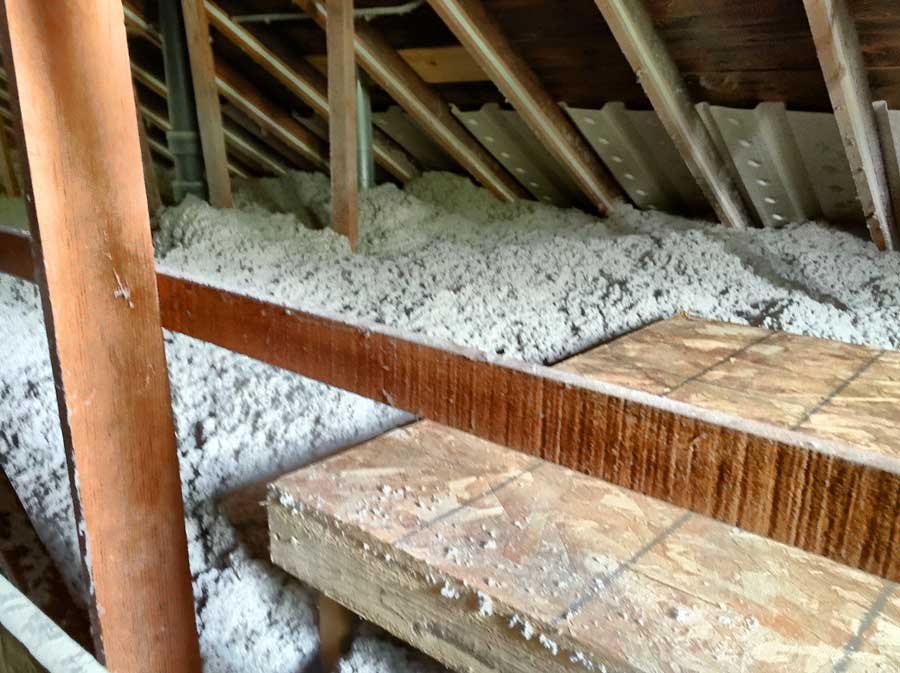
Loose cellulose insulation was blown into the attic, covering the entire floor other than the stairwell.
I had originally wanted the attic floor covered with a plastic sheeting to act as an air and moisture barrier. But Krishna was concerned that the plastic could trap warm, moist air from the living spaces between ceilings and the attic floor, creating moisture problems over time. In the end, roughly 15 inches of loose cellulose insulation was blown into my attic, covering the entire floor. The workers built walls around the stairwell that leads down to my living room using sheets of rigid foam insulation. It is capped by a separate, removable panel.
The entire project, including the removal of aluminum wrap; the repair or replacement of exterior wood trim; scraping, priming and painting of the wood trim; the installation of new rain gutters; and the addition of attic insulation cost about $9,000.
Did the project help? I think so. Though I haven’t performed any scientific measurements, the temperature in my house did seem a bit more consistent and comfortable this summer. I’ll have to see whether it will prevent ice dams this winter.
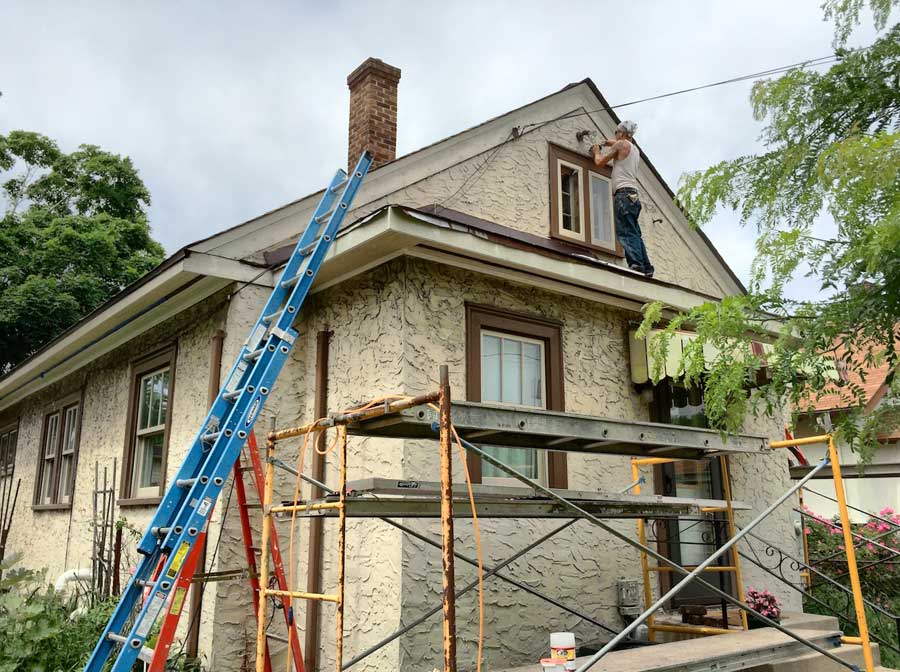
A worker applies primer to the bungalow’s trim in preparation for painting.
But if nothing else, I like to imagine fresh air flowing into my attic from the eaves and hot, stale air escaping through the ridge vent. And modest though they are, I thoroughly enjoy my home’s restored architectural details.