


Small Home Gazette, Winter 2016
Trimming the House for the Holidays
Trimming our house for the recent holidays took on a new meaning. In addition to hanging pine garland and stockings to bedeck our bungalow’s interior, I went all out and trimmed the baseboards, too—a finishing touch that was 13 years in the making.
When I bought my 1924 bungalow, I catalogued its needed repairs. Fast-forward many years. My husband and I had remodeled the upstairs and basement and had ticked off other projects from that original list. We were getting down to those that were more tedious and didn’t have a high-impact payoff. One of them was replacing the baseboard shoe molding in the living room, dining room and hallway.
It seemed like a do-it-yourself project. I suspect the molding had been removed and discarded when a previous owner had the floors refinished. I found a relic piece of shoe molding 7 inches long that aligned with remnants of slight varnish ridges along the baseboard.
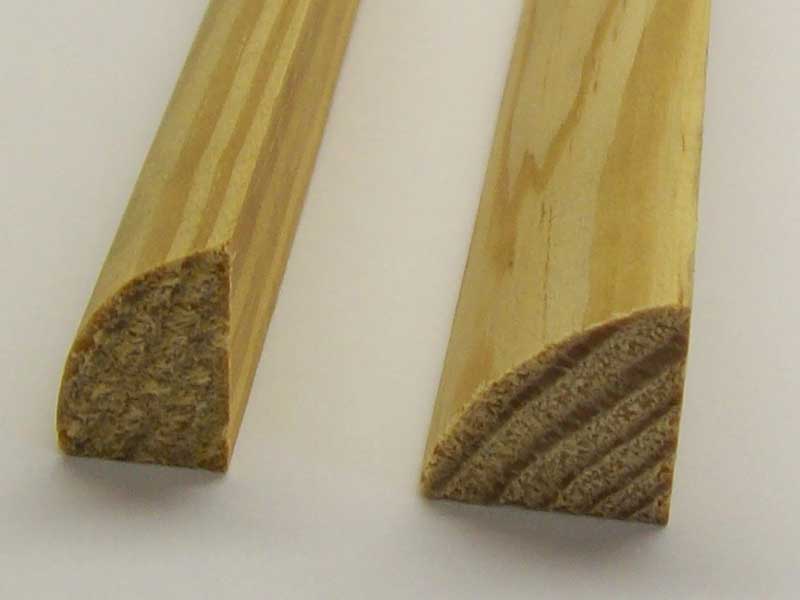
Shoe molding, left; and quarter round, right.
I took the piece to the lumberyard. There I discovered I couldn’t replace the molding with off-the-shelf quarter round, which is essentially a dowel cut lengthwise into quarters, its height and depth the same. Shoe molding, though similar, is taller than it is deep. Mine measured ½ inch deep by ¾ inch tall. This profile gives the trim greater flexibility to conform to uneven surfaces along the baseboard and floor. It also provides a sleeker finished look.
The fact that shoe molding requires special ordering was enough to temporarily block my DIY spirit. Because our hallway is short, dimly lit, and has painted trim, I went ahead and installed ¾-inch pine quarter round. But I wanted to do it right for the living and dining rooms’ stained oak woodwork.
Ordering Molding
Last year, our friends Mark and Karen needed to re-install baseboard after removing built-in bookcases that were not original to their house. Their shoe molding profile matched ours, so I got in on the custom order they placed with A&A Millwork in Minneapolis.
I listed the 23 continuous spans of trim needed in the living room and dining room. Fearing mistakes, I measured each length several times and added an extra ¼ inch. Karen had the hard work of figuring out how to combine lengths to minimize waste and buy the longest pieces of trim possible to reduce the number of seams. The red oak base shoe came in 10-, 12- and 14-foot lengths and cost $0.94 a linear foot. A&A Millwork originally estimated a delivery time of one month, but it took two.
Staining
After the trim arrived, it was time to stain it to match my baseboard’s color as close as possible. I brought a drawer from my built-in buffet and a scrap of new oak to Abbott Paint & Carpet Co. in St. Paul. One of their staff tested stain colors, applying one and then the other on the wood to get a match. I left with a can each of Old Masters wiping stains in Dark Walnut and Spanish Oak.
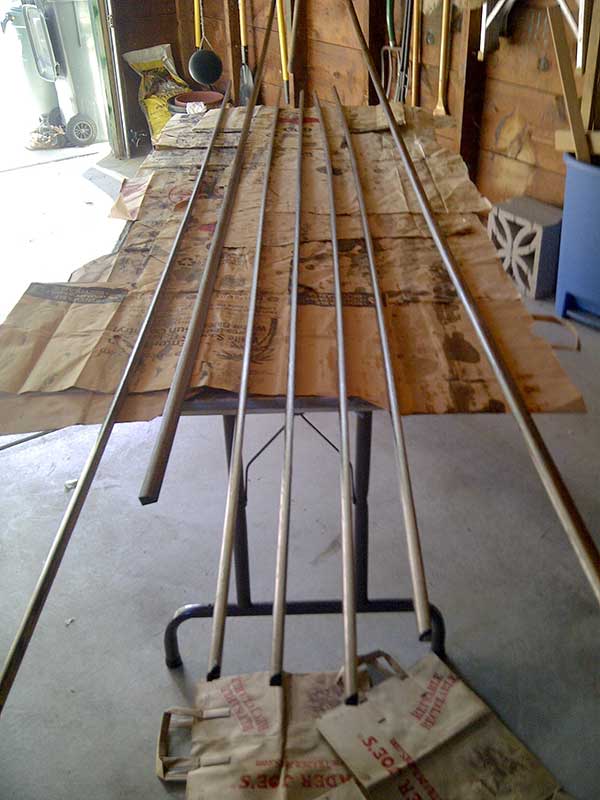
New shoe molding in the garage for staining and sealing. Finding a suitable place to work on the long, slender pieces was a challenge.
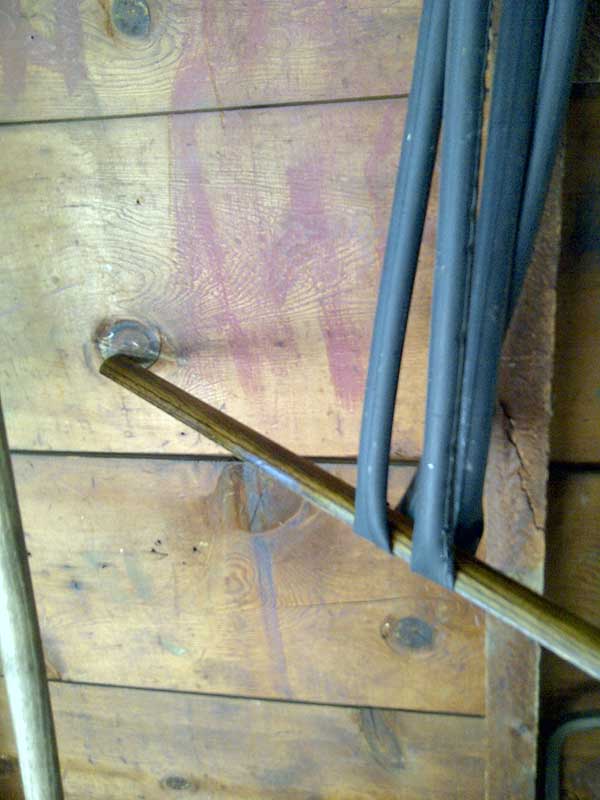
Old bicycle inner tubes suspended from hooks the ends of longer trim pieces, preventing them from drooping or flipping during staining.
In our garage I set up an 8-foot-long folding table covered in paper bags. The longest trim pieces extended far beyond the table ends and wouldn’t lay flat. I MacGyvered a solution by suspending the ends of the molding in old bicycle inner tubes hung from hooks on the walls. This created enough grip to keep the pieces straight and prevent turning while the stain dried.
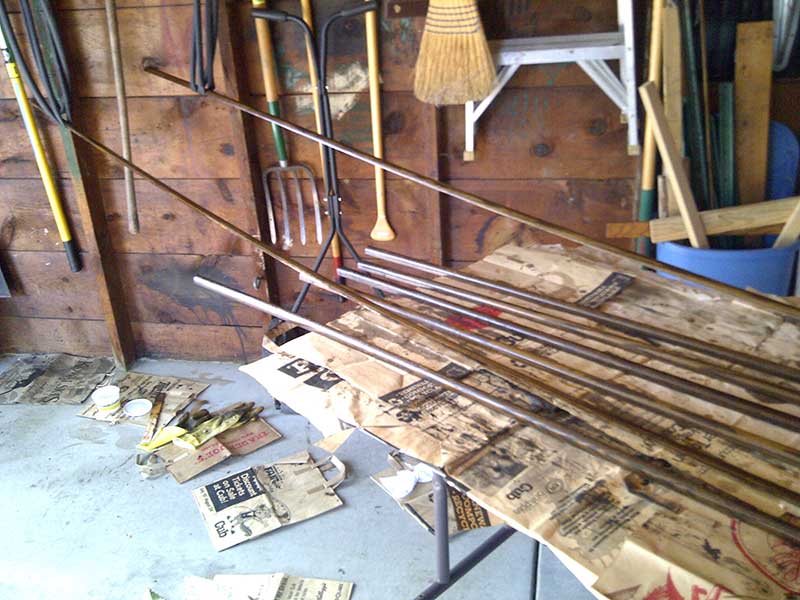
Stained molding drying on a table.
I’d been advised by a carpenter friend to err on staining the baseboard darker than the shoe molding. Too light would stand out, while slightly darker would recede as if in shadow. I used 100-grit steel wool and cheesecloth for prep, and I used Pete’s well-worn, lint free, white cotton tee shirts for applying and wiping off stain. The cycle began: prep, stain, wait, wipe, dry, color check, repeat.
After the second cycle, the trim color matched the drawer perfectly, so I brought a length into the house and laid it against the baseboard. Pride turned to disappointment when I saw that the color was too light and lacked depth. Who could expect a 90-year-old house to have no variation in wood stain colors? Maybe a different stain was applied to the baseboards to begin with, or maybe they were made from a different wood than the other trim. They may have been touched up with a different stain at some point or been altered by cleaning chemicals. Regardless, I did not have a perfect match.
So, I pulled Zar Moorish Teak from my past project stain collection, hoping it might contribute the missing qualities. With three more applications of the various stains, I hit the color match and applied a final semi-gloss polyurethane seal. The trim was moved to our enclosed front porch. This ended up being a little premature, as the chemicals were still heavily off gassing, so we couldn’t open the window between the bedroom and porch.
Installing
I’m willing to take on rough carpentry, but when details matter, I call a professional. Fortunately, I’d met a finish carpenter on the novice rowing team I’d joined last summer at the Minneapolis Rowing Club. Steve agreed to take on my small project as fill-in between his bigger jobs, with a goal of having the trim done before the holidays.
I waited about two months until he had an opening in late October. When Steve arrived promptly at 7 a.m., he saw that the trim was on the front porch. Since it was late fall, I had turned our furnace on, so the air inside the house was now drier than outside. Steve gave me the choice of installing that day and taking a small risk of the wood shrinking if it dried further inside. Winter, I learned, is the best time to install interior woodwork, as the low humidity minimizes additional wood contraction. When installed in warm, humid weather, wood can shrink later, causing gaps. I chose to bring the trim inside to acclimate for a day. What’s another day in a 13-year project?
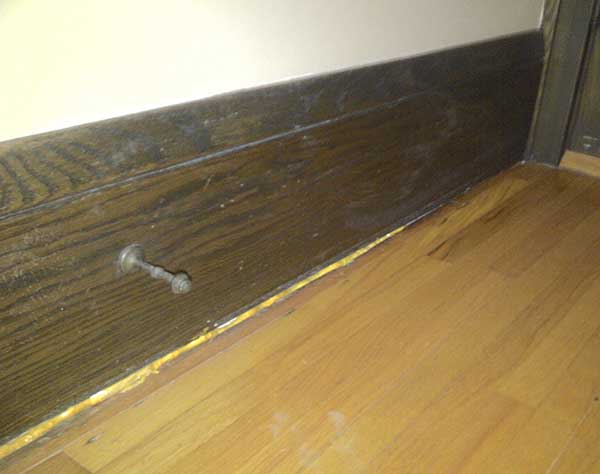
Expanding insulating foam was used to fill the gap between the baseboard and floorboard. It remained exposed for years, waiting for the finishing touch.
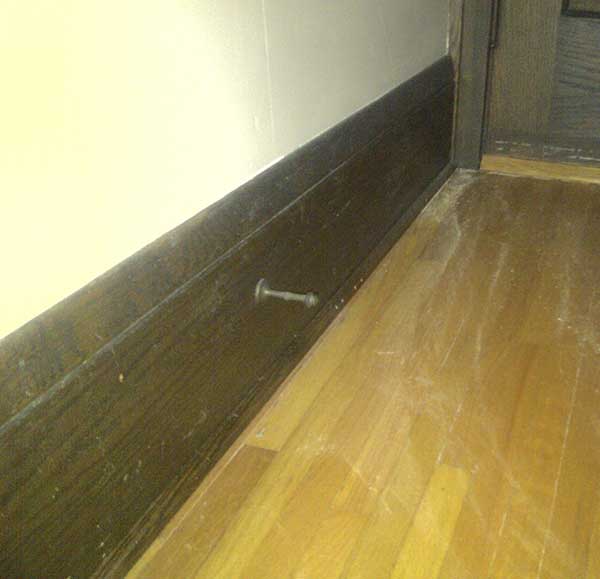
New shoe molding stained to match the original baseboards.
The next day, installation took Steve less than two hours. That evening I asked Pete what he thought of the new trim. He said, “I don’t even notice it.” Not the best answer after all that work, so I emphatically added, “…because it matches perfectly!”
Resources
A&A Millwork
3320 East 41st St., Minneapolis
612-721-1111
www.aamillwork.com
Abbott Paint & Carpet Co.
1808 Grand Ave., St. Paul
651-698-5518
(Locations also in Stillwater and White Bear Lake)
www.abbottpaint.com
Steve Luttinen Finish Carpentry LLC
612-269-2263
Web Articles
“Base Shoe Molding”
http://tinyurl.com/zdvp8sq
“Let It Sit or Use It: Acclimating Wood”
http://tinyurl.com/gl36r57
“Several of 1000 Uses for Old Bicycle Tubes”
http://tinyurl.com/h9qd4np