


Small Home Gazette, Winter 2018
Creative Solutions: Reclaiming the Integrity of a Bungalow’s Wood Trim Design
As in many Twin Cities bungalows, a previous owner had painted the ceiling cove molding white in an attempt to brighten and modernize the home. But the result, in the owners’ opinion, was to rupture the rooms’ integrity and make them look disjointed and incomplete.
Good Caretakers
Throughout the more than two decades that the couple has owned the bungalow, they’ve prioritized keeping it in top shape. They have meticulously repaired and painted all the exterior trim. They replaced the severely rotted front porch with a period-appropriate new one. Inside, they’ve repaired cracks in plaster walls and revived the oak trim’s finish.
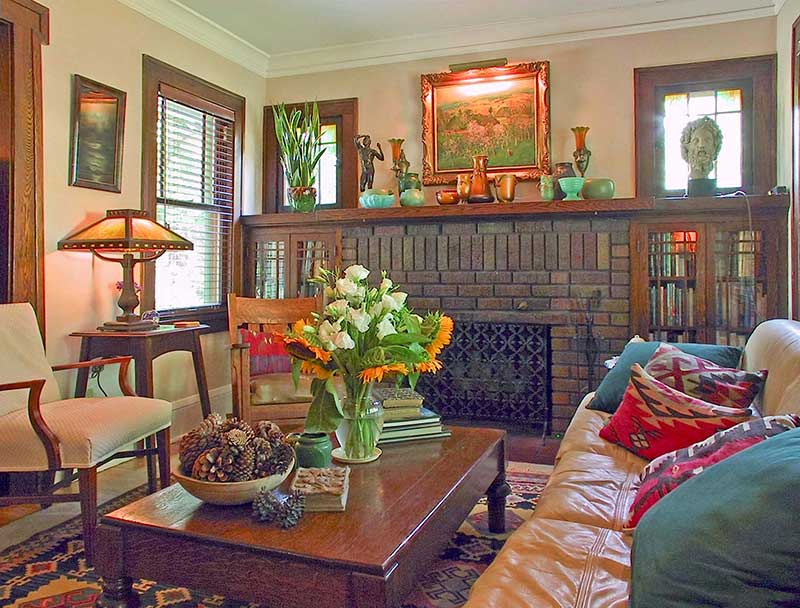
The homeowners thought the white-painted cove molding made their rooms look incomplete and ill-defined. But they had avoided tackling restoration for more than two decades.
But the cove molding was one project they never seemed ready to tackle. It would require either prying the wood pieces off the walls to strip and refinish them in a workshop, or attempting to do it in place. The first option risked severe damage—they’d heard warnings that old, dry cove pieces can split during removal, and that reinstallation is difficult and never looked quite right. And spending dozens of hours on stepladders trying to strip and refinish it in place would be arduous.
So they hit on the idea of painting the cove molding to match the rest of the trim as closely as possible. This concept had two advantages. The wood was already painted, so they wouldn’t be inflicting any further harm. And painting would be far easier than stripping and refinishing. They just hoped it wouldn’t be obvious that the finish was paint instead of natural wood.
Not as Easy as It Looks
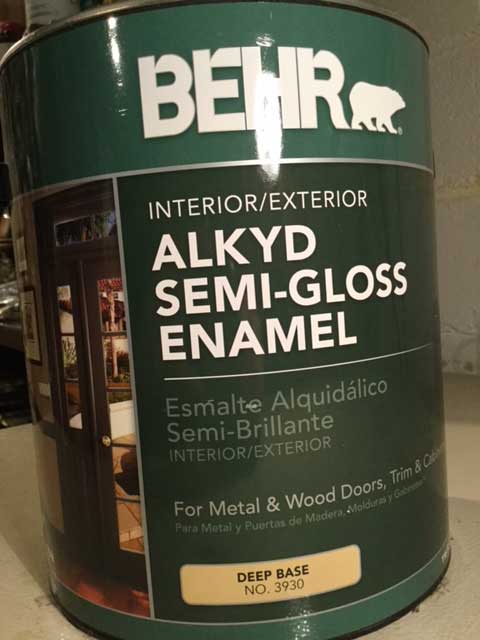 So this past summer, Mike and Tom collected a range of paint sample cards and settled on a color that best matched their bungalow’s oak woodwork. They bought a gallon of Behr “Moroccan Henna” Alkyd Semi-Gloss Enamel #PPU3-19 at The Home Depot; cleared furniture out of the way; and set to work. Mike started by using a half-inch, stiff-bristle artist’s brush to define the molding’s top and bottom edges.
The project didn’t go as smoothly as they’d hoped. Getting a sharp, level line between the dark paint on the cove and the lighter wall and ceiling paints was excruciatingly difficult.
Mike tried using painter’s tape to get a sharp edge, but the paint either seeped under the tape, or when the tape was removed the resulting line was too irregular. He finally decided that painting freehand was the best option. To complicate matters, the old matte white paint on the molding soaked up the new paint, so that three coats of the brown were required.

In the end, Mike and Tom estimate that each 10-foot section of the cove molding took about 10 hours to complete. That included the tedious task of defining the top and bottom edges of the cove and applying three coats of paint to cover the main area.
Satisfaction
Mike and Tom are happy with the result. In the bright midday light, if you look closely, you can see the difference between the painted cove and the rest of the woodwork. But it isn’t glaringly obvious. It helps that ceiling molding is above eye level. And even with all the paint layers, some underlying wood grain texture is apparent.
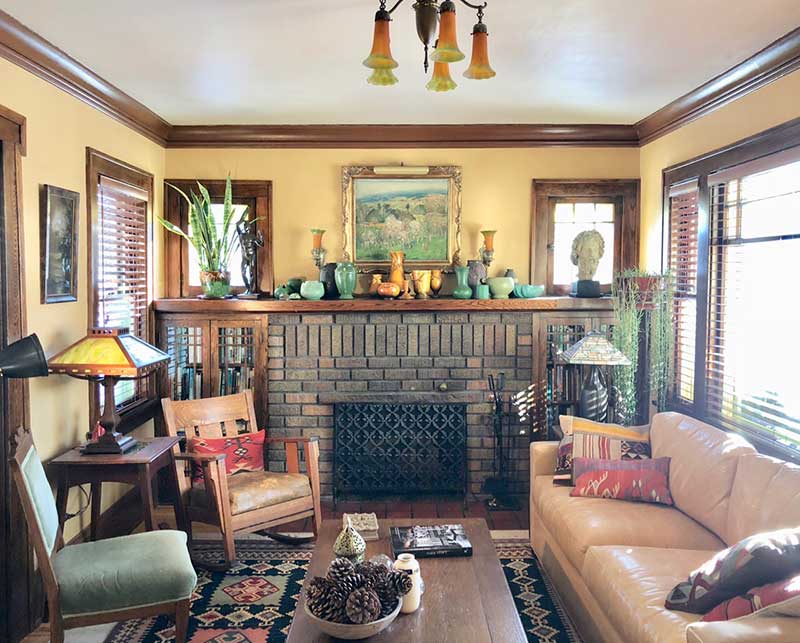
The painted cove molding defines the room and strengthens its aesthetics.
“It makes the room seem larger,” says Mike. “It takes the eye upward and around the perimeter of the room. It defines the space so much better.”
Other Examples?
If you know of other creative solutions to make bungalows more livable, send them to us at mail@bungalowclub.net. Whether they save space; provide modern convenience with an historically-appropriate appearance; or simply make the best of a difficult situation, we would love to share them in the Small Home Gazette.